
Your first story
By the end of this page you will have edited a working scenario, added a branch of your own, and played it in the browser. Nothing here needs the Windows Desktop app.
1. Sign in
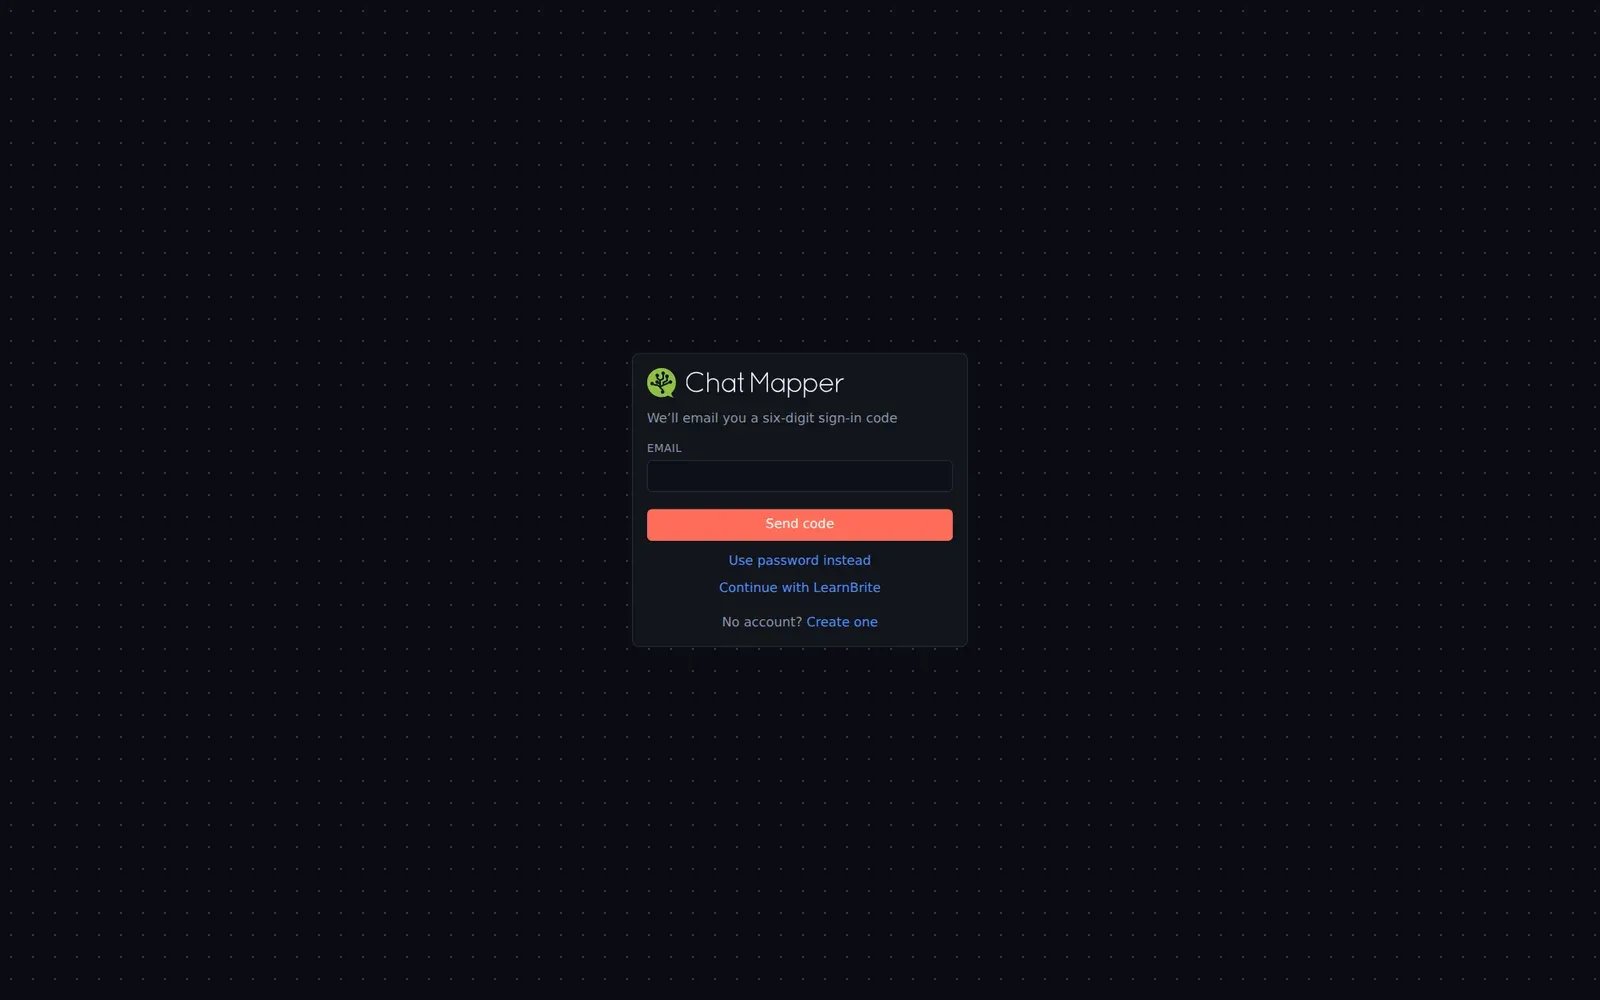
Section titled “1. Sign in”Go to app.chatmapper.com/login. The default sign-in emails you a six-digit code — enter it and you are in. If you prefer a password, choose Use password instead. New here? Create one registers an account from the same screen.
The first time you sign in, ChatMapper creates a workspace for you and offers three ways to start.
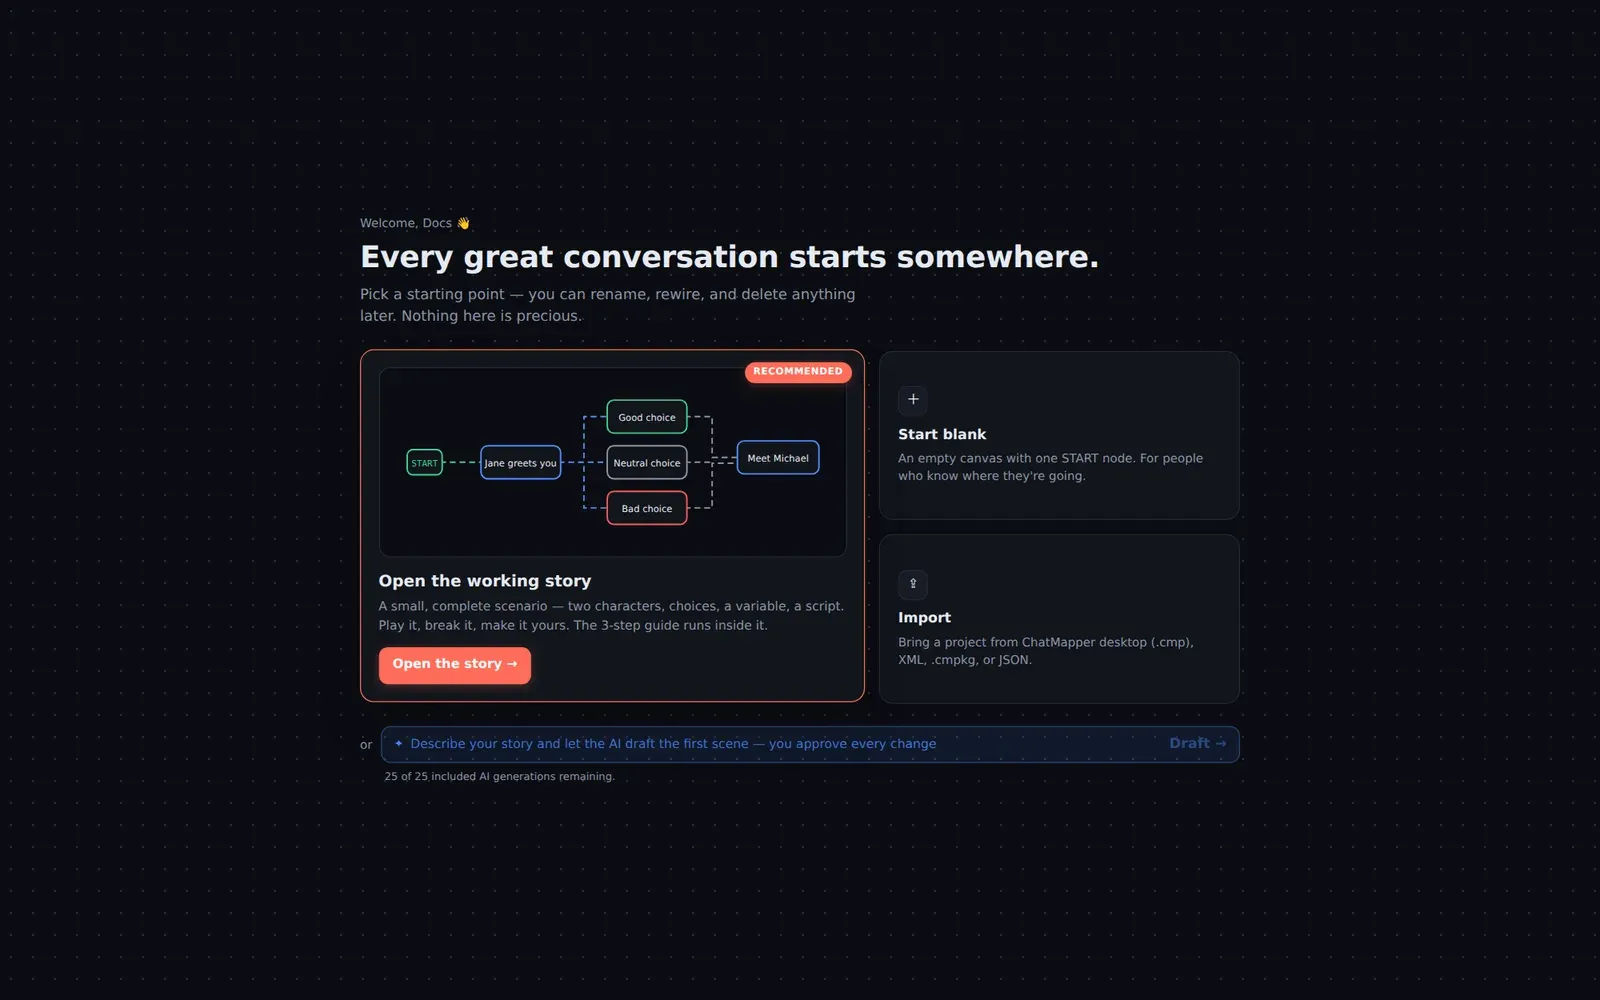
- Open the working story (recommended) — a small complete scenario: two characters, choices, a variable, a script. Editing something that already runs is much faster than staring at an empty canvas.
- Start blank — an empty canvas with one START node.
- Import — bring a project from ChatMapper Desktop (
.cmp,.cmpkg,.xml) or JSON, or a spreadsheet, Twine, Arcweave or articy:draft export. See Importing existing work.
Below those, Draft → lets you describe a story in a sentence and have the AI draft a first scene for you to approve. It is covered in AI scenario generation; for now, open the working story.
2. The four-step guide
Section titled “2. The four-step guide”The example opens with a guide card in the top-left. Its four steps are the shortest path to understanding the tool — do them in order.
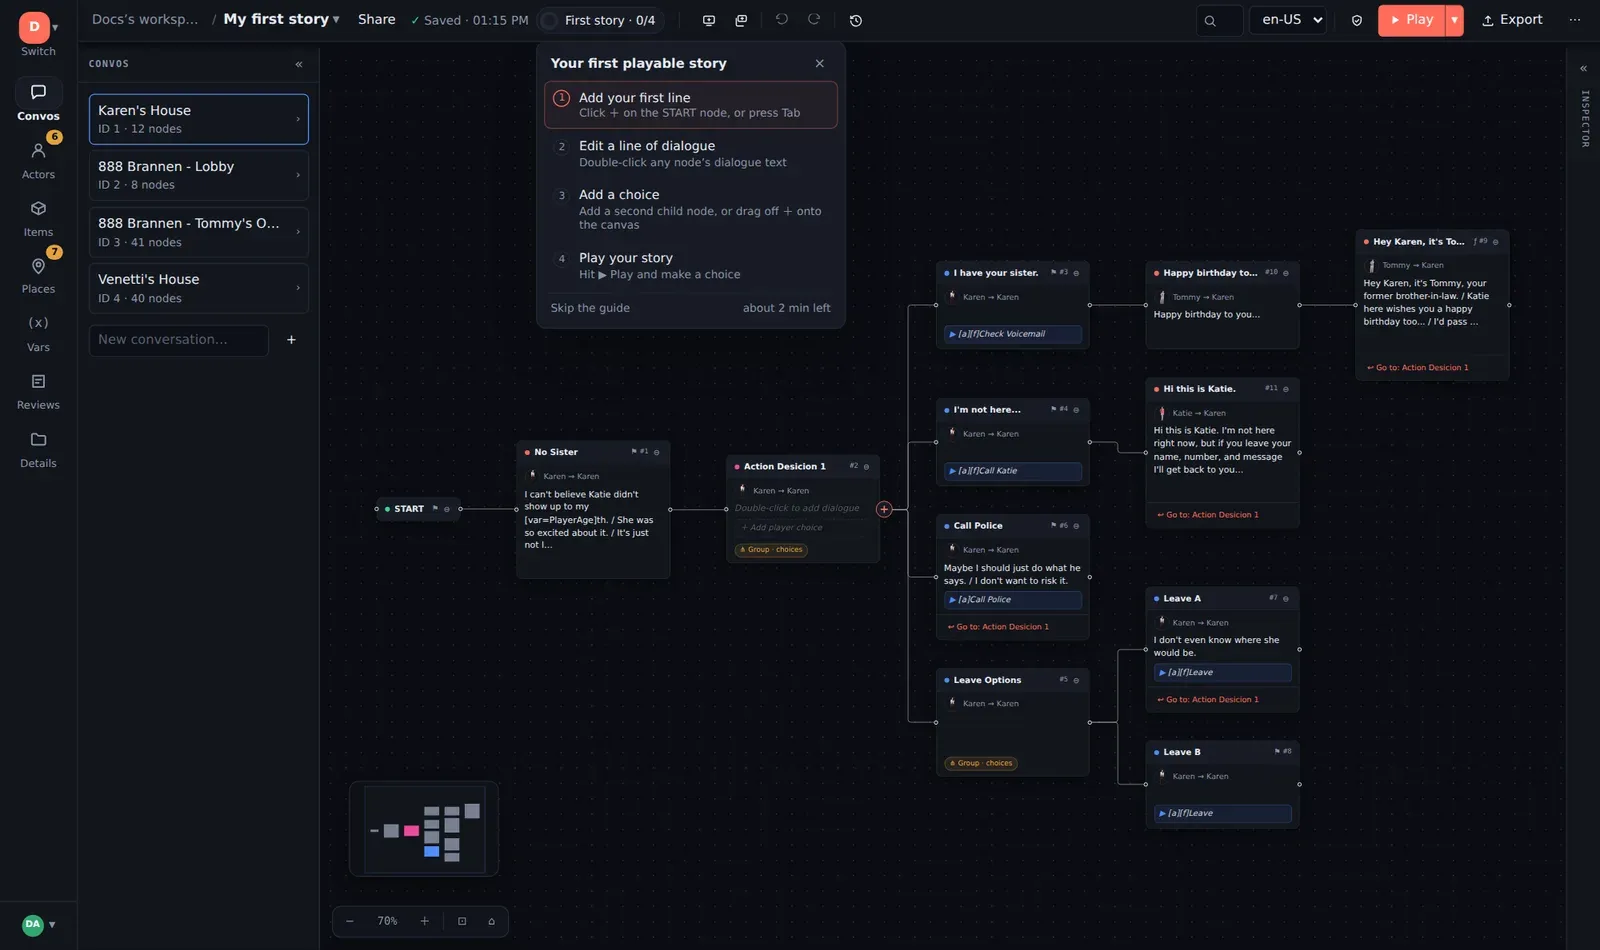
Add your first line
Section titled “Add your first line”Select the START node and press Tab, or click the + on its right-hand edge. A new node appears, already linked under START and already selected.
Edit a line of dialogue
Section titled “Edit a line of dialogue”Double-click any node’s dialogue text directly on the canvas and type. Enter commits, Esc cancels. Or select the node and edit Dialogue in the Inspector on the right, where you also set who is speaking (Actor) and who is being spoken to (Conversant).
There is no Save button to hunt for. The project autosaves a couple of seconds after you stop typing, and the toolbar shows Saved with the time so you always know where you stand.
Add a choice
Section titled “Add a choice”Select a node and press Tab twice, so it has two children. Give each child a Player choice (menu text) — “Ask about the ferry” / “Say nothing” — and you have built a branch. Each node card also has an + Add player choice line at the bottom that does the same thing in one click, and you can drag from a node’s + handle onto empty canvas.
Play your story
Section titled “Play your story”Press ▶ Play. The story runs full-screen, paced like a game: lines appear one at a time, choices become buttons, the scene picture and character portraits show if the project has them. Esc brings you back to the canvas.
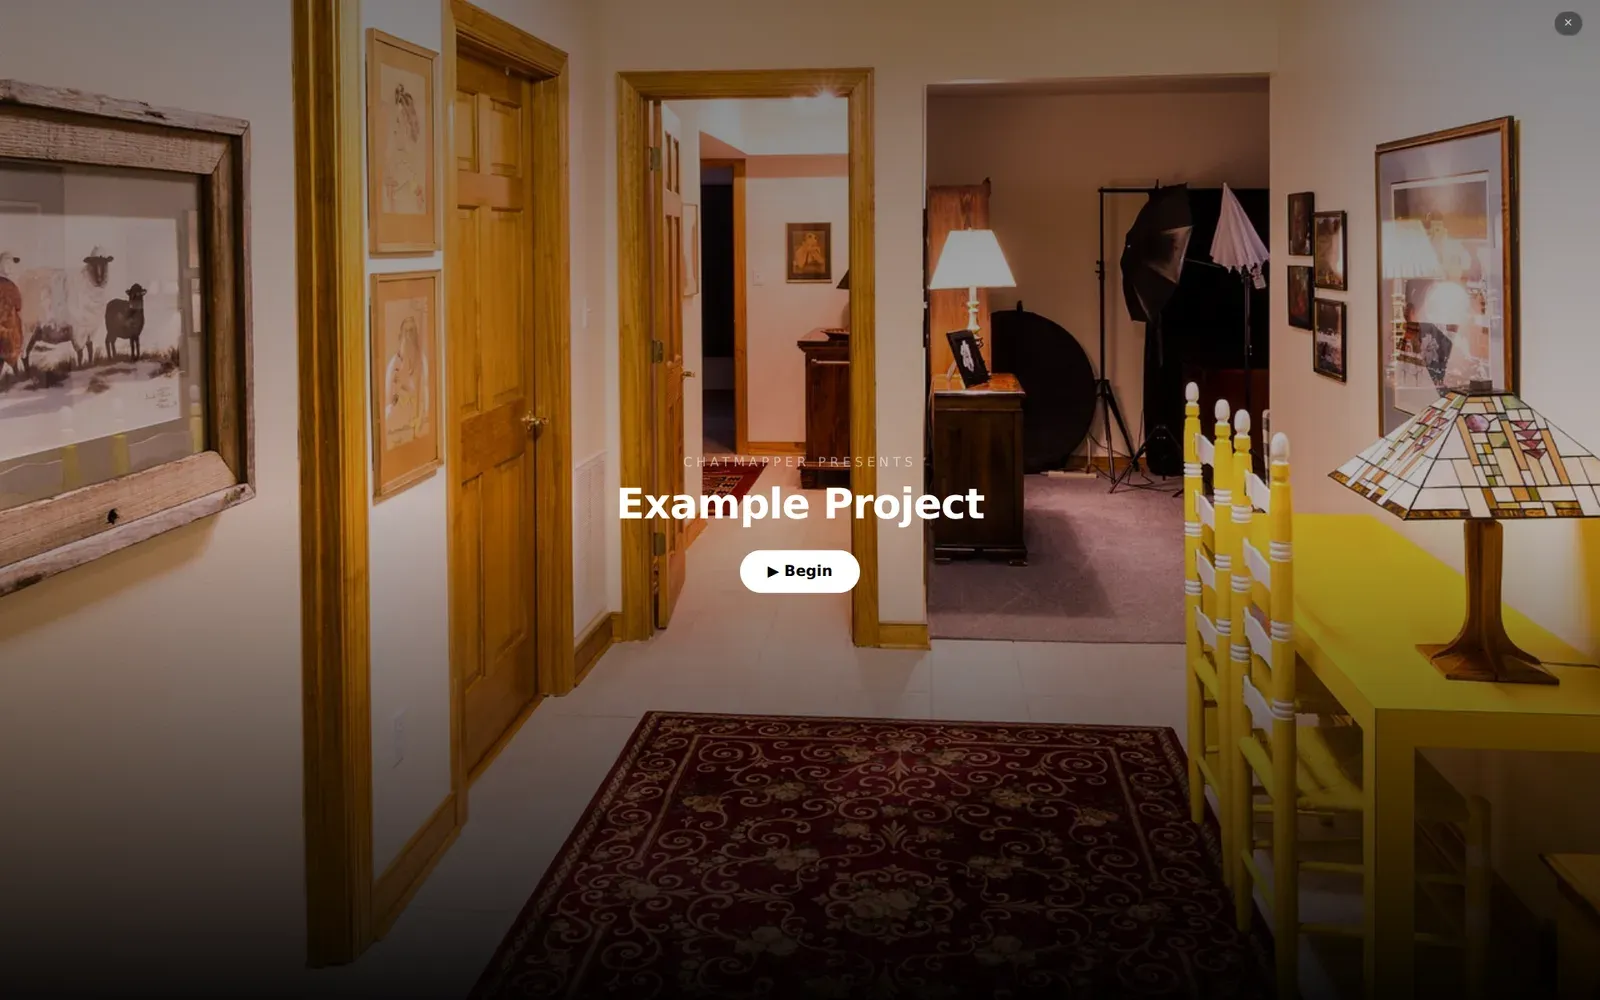
That loop — edit → branch → play — is the job. Everything else in this manual is refinement.
3. Try the simulator
Section titled “3. Try the simulator”Play shows the story the way a player sees it. The Simulate mode next to it (open the ▾ beside Play) is the writer’s debugger: the same playthrough as a transcript, with Variables and a Lua console you can inspect, and step back / step forward so you can rewind to a choice and take the other branch without restarting.
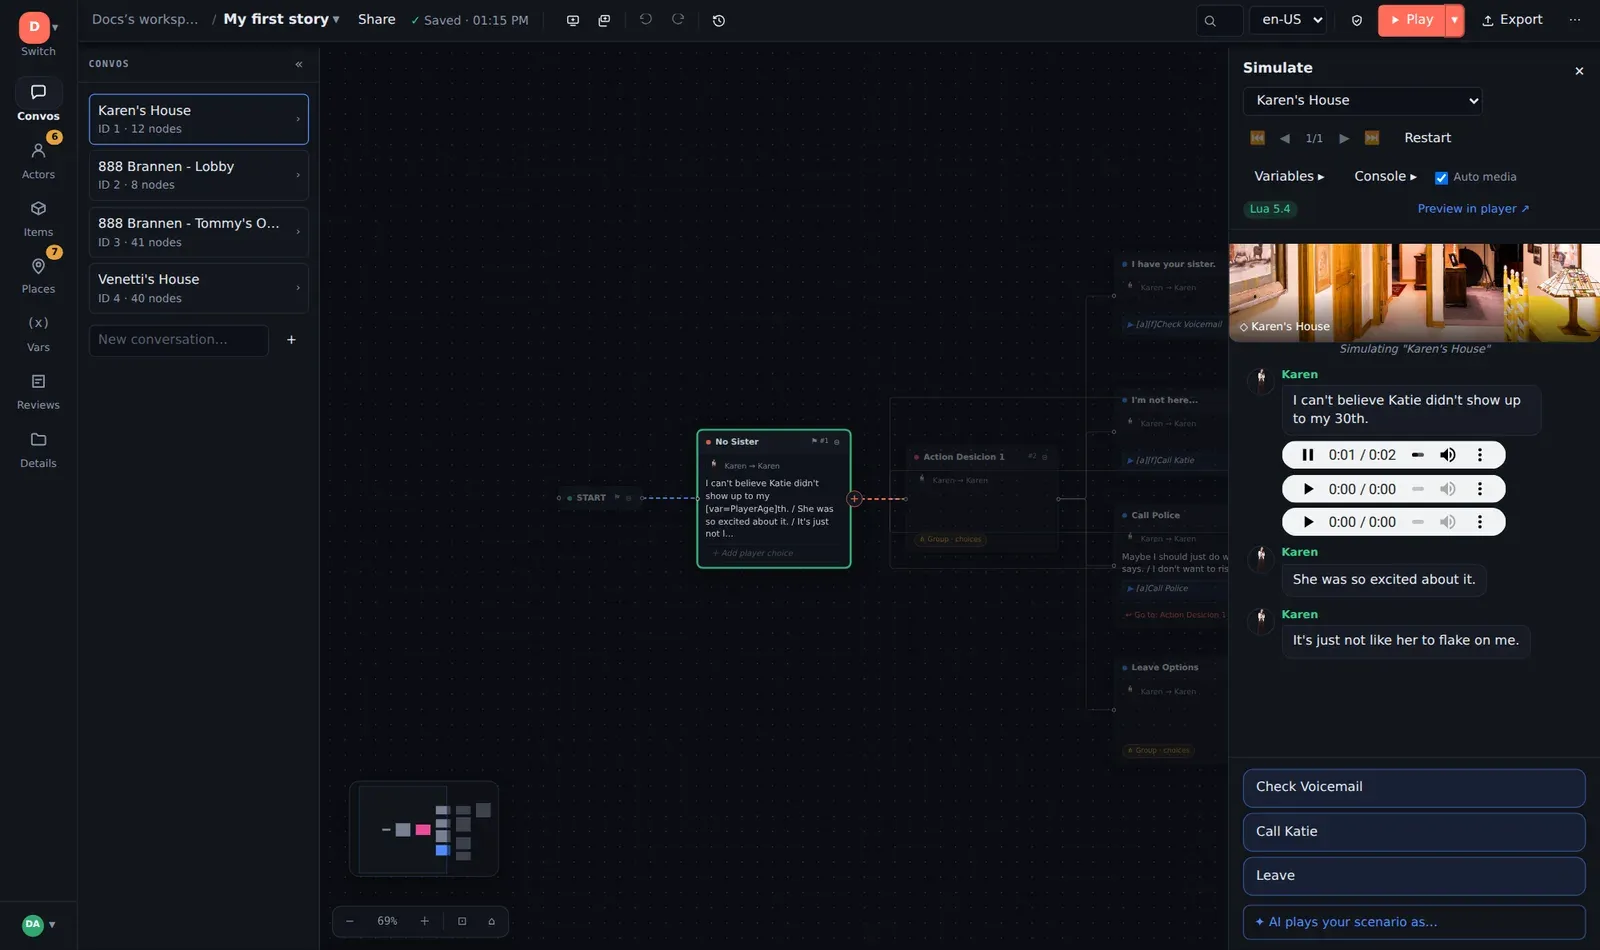
Try it on the example: pick a choice, open Variables, then step back and pick a different one.
4. Check it
Section titled “4. Check it”Click the shield icon in the toolbar to Validate. The example is clean; when you build your own, this is where broken links, unreachable nodes, undefined variables and lines with no speaker show up. See Validation.
What you have now
Section titled “What you have now”You have a project in a workspace of your own, with autosave and version history already running. From here:
- The editor walks through every panel.
- Building conversations covers group nodes, loops, cross-conversation jumps and layout.
- Exporting and delivering gets it into your engine.