
Building the tree
Adding and removing nodes
Section titled “Adding and removing nodes”A new conversation starts with a single root node that everything else hangs from. To add:
- Child — the green + on any node, Right-click → New Child Dialogue, or the shortcut key. A dialogue-entry popup asks for title, actor, conversant and dialogue text (and any custom fields marked Popup).
- Sibling — Right-click → New Sibling Dialogue, or Shift-click the +.
- Group — Ctrl-click the + (or Ctrl+Shift for a sibling group).
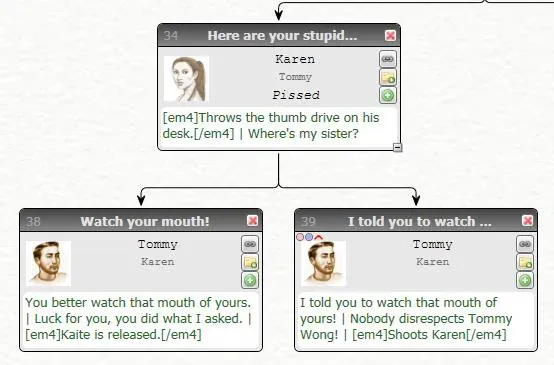
To delete, select the node and press Delete, or click its red ×. The link through the deleted node is re-established so its children are not orphaned.
Order matters
Section titled “Order matters”When several choices can be shown at once, they are presented in tree order — left to right (top to bottom in horizontal layout). Reorder with Right-click → Reorder Node Left / Right.
Linking
Section titled “Linking”A new node is linked to its parent automatically. To add a further link:
- Click the chain button on the origin node. The conversation enters linking mode (red frame).
- Click the destination node. Node 5 → click node 1 links 5 to 1.
Linking mode ends after one link unless Continuous Linking Mode is on in preferences, in which case it continues until Esc. To delete a link, select it and press Delete. Self-links are not allowed.
Connector links
Section titled “Connector links”Desktop draws the tree as a tree. When you link to a node that already has a parent, the extra link is shown as a small connector node (labelled with the target’s title) rather than a second line across the diagram. Hover a connector to preview the target; click it to edit the target; Right-click → Promote To Primary Link makes it the target’s main parent instead.
ChatMapper Cloud draws every link as a real edge and has no primary/secondary distinction; a Desktop connector imports as an ordinary link.
Linking to another conversation
Section titled “Linking to another conversation”Right-click → Link To Conversation… on a node links it to another conversation’s root. A connector appears; in simulation the story continues into that conversation, keeping variables and statuses. This is the tool for splitting a large story — see the recipes.
Linking to another file
Section titled “Linking to another file”Right-click → Link To File… links into a conversation in a different project file. Only Desktop’s own simulator can follow these; every export target, including Unity’s Dialogue System, ignores them. Prefer several conversations in one project.
Group nodes
Section titled “Group nodes”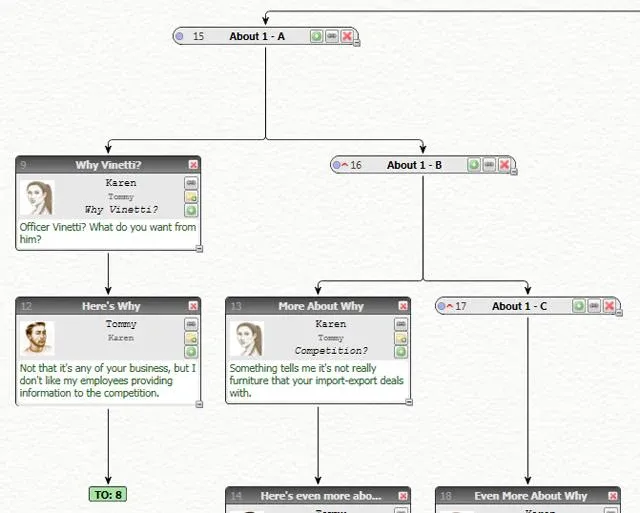
A group node is a sub-tree container: never spoken, it presents its children as the choice set. Use it to organise a large branch, and to scope condition priorities — priorities are compared only among nodes in the same group. Groups have conditions and (since 1.7) scripts of their own, and are added, arranged and linked like dialogue nodes.
Navigating a large tree
Section titled “Navigating a large tree”- Scroll bars, mouse wheel (vertical), middle-drag, or drag the Overview pane.
- Zoom from the tab toolbar, Ctrl++ / −, or Ctrl+wheel — the selected node stays in view.
- Arrow keys move between nodes when one is selected.
- [+] / [−] on a card collapses or expands its subtree; Ctrl-click applies to everything beneath. The tab toolbar has expand-all / collapse-all.
- Edit → Goto Node jumps to a node by ID; Edit → Find searches any
dialogue field (type
[LB]to match a line break) and Replace replaces. - Colour a node from the seven colour buttons above the canvas.
Around two hundred nodes a single conversation becomes slow to draw; split it with cross-conversation links, and close conversation tabs you are not using — every open tab is loaded before an edit is committed.